Wireless, Low Profile, Corne Keyboard Buildlog

Table of Contents
I’ve been in love with mechanical keyboards since the day (not so long ago) I had the chance to lay my fingers on one. I started with a Kickstarter, cheap keyboard, before moving to a Keychron K2. Both of them were Bluetooth wireless, which is nice and practical, especially since I have one keyboard for multiple computer.
But as I followed the rabbit down its hole, it soon began to be clear: the Graal of the keyboard was a split, ortholinear one. I was keen on small layouts, I quickly fell in love with the Corne project. Corne, or Helix, or crkbd is a 6*4 split ortho keyboard made by foostan.
As mentioned before, I wanted a wireless one, and while going for small let’s go small all the way with a Low Profile keyboard.
Here is my buildlog, in hope that it may help some of you out there;
Let’s go !
📦 Step 0: get the pieces⌗
| Piece | Seller | Quantity |
|---|---|---|
| Comptroller Case (with options) | Little Keyboard | 1 |
| Carry Case | Little Keyboard | 1 |
| Corne LP Kit (detail below) | Boardsource | 1 |
| SMD Diodes x10 | 5 | |
| Choc hotswap Sockets x10 | 5 | |
| OLED Screen | 2 | |
| TRRS Cable | 1 | |
| Corne LP V3 PCB | 1 | |
| Wrk Daily keyset | Work Louder | 1 |
| Kailh Choc Brown | splitkb.com | 50 |
| nice!nano | splitkb.com | 2 |
| Mill Max Low Profile Sockets | splitkb.com | 2 |
| Wireless Controller Expansion Bundle | splitkb.com | 1 |
| 301230 Lithium 3.7V | AliExpress | 2 |
🛠 Step 1: Getting started⌗
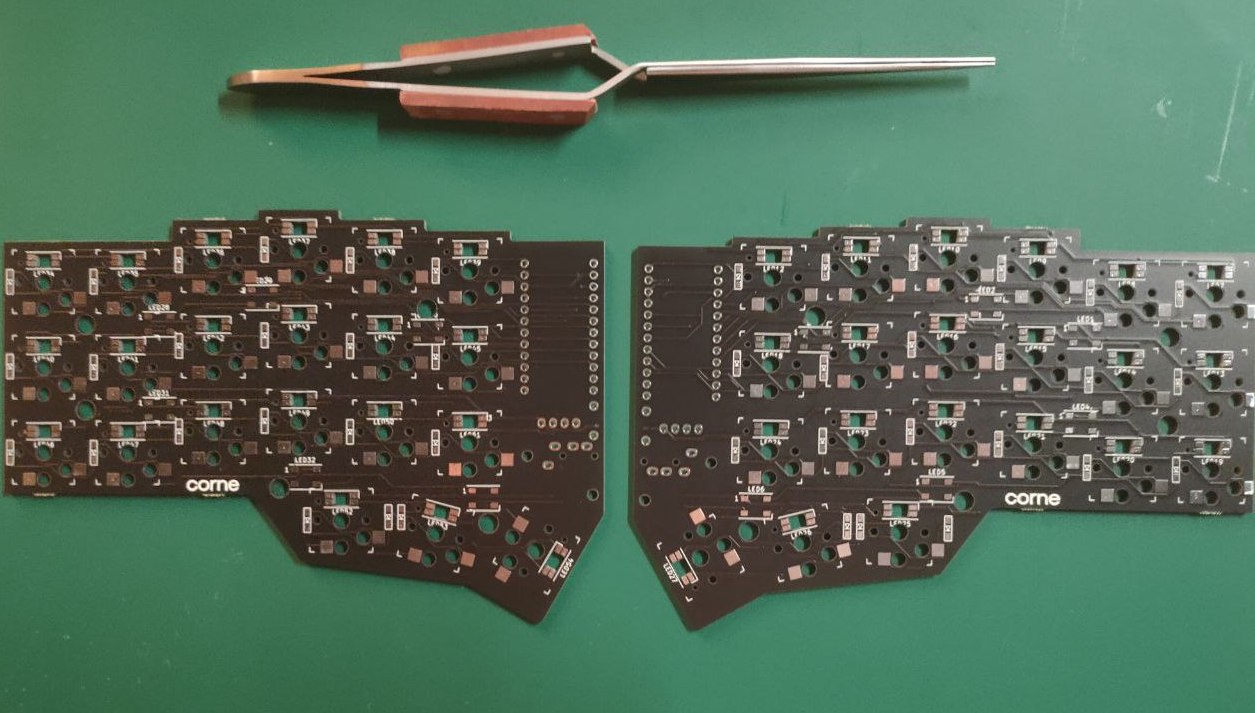
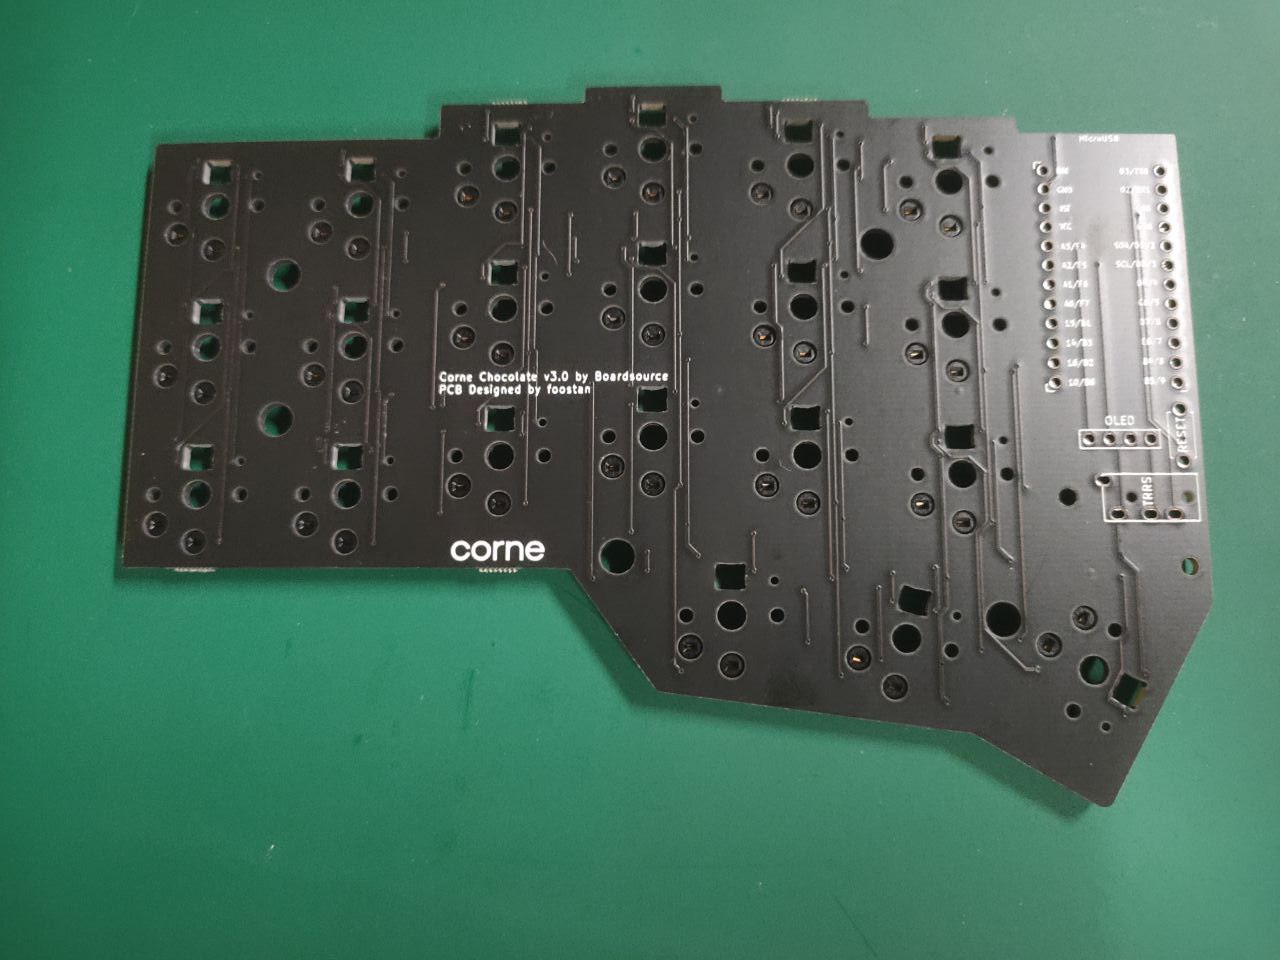
The PCB needs to break free of the mounting points. Don’t be afraid to bend the plates, they are made for it.
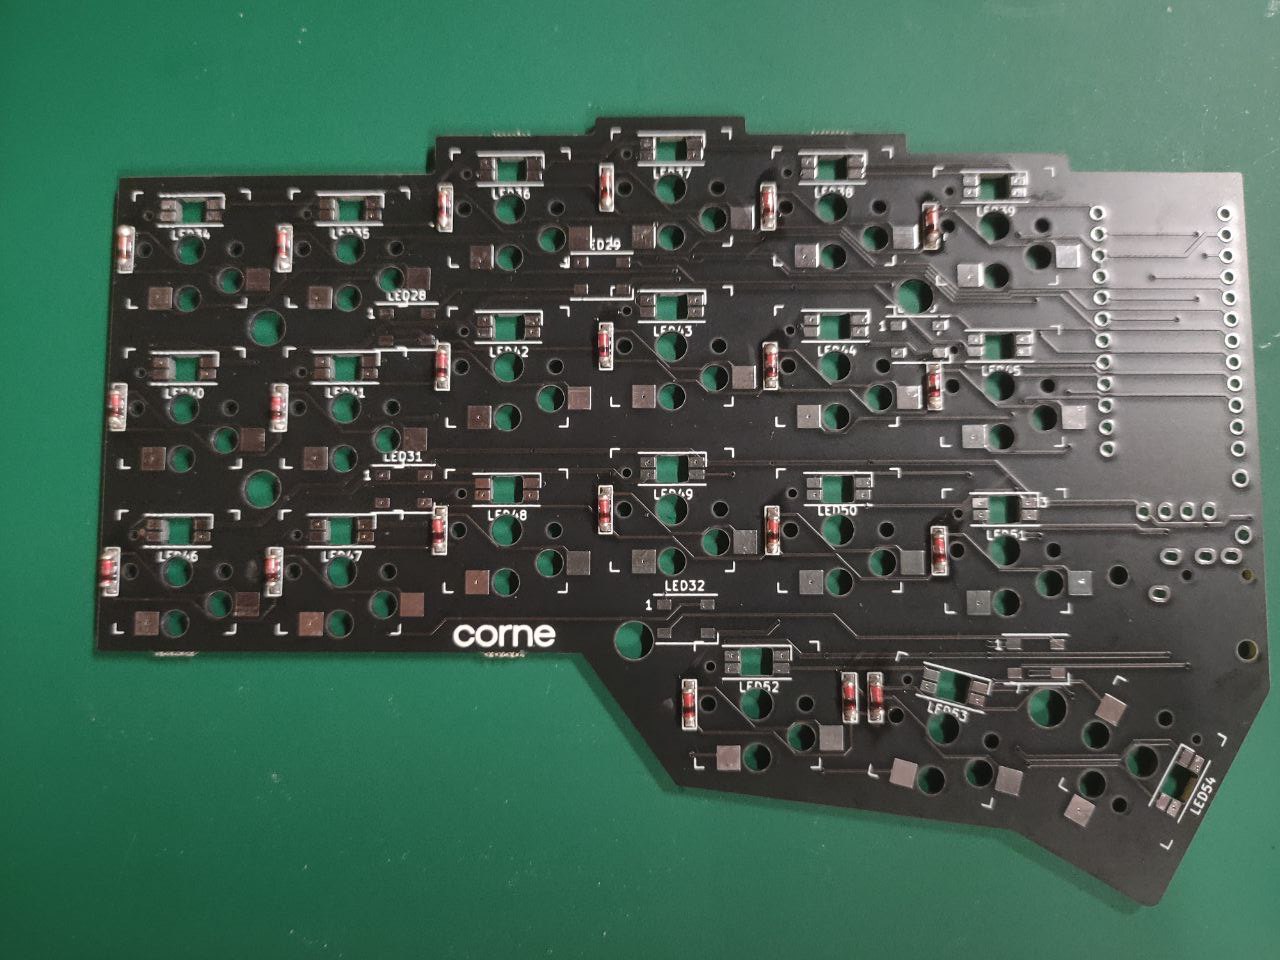
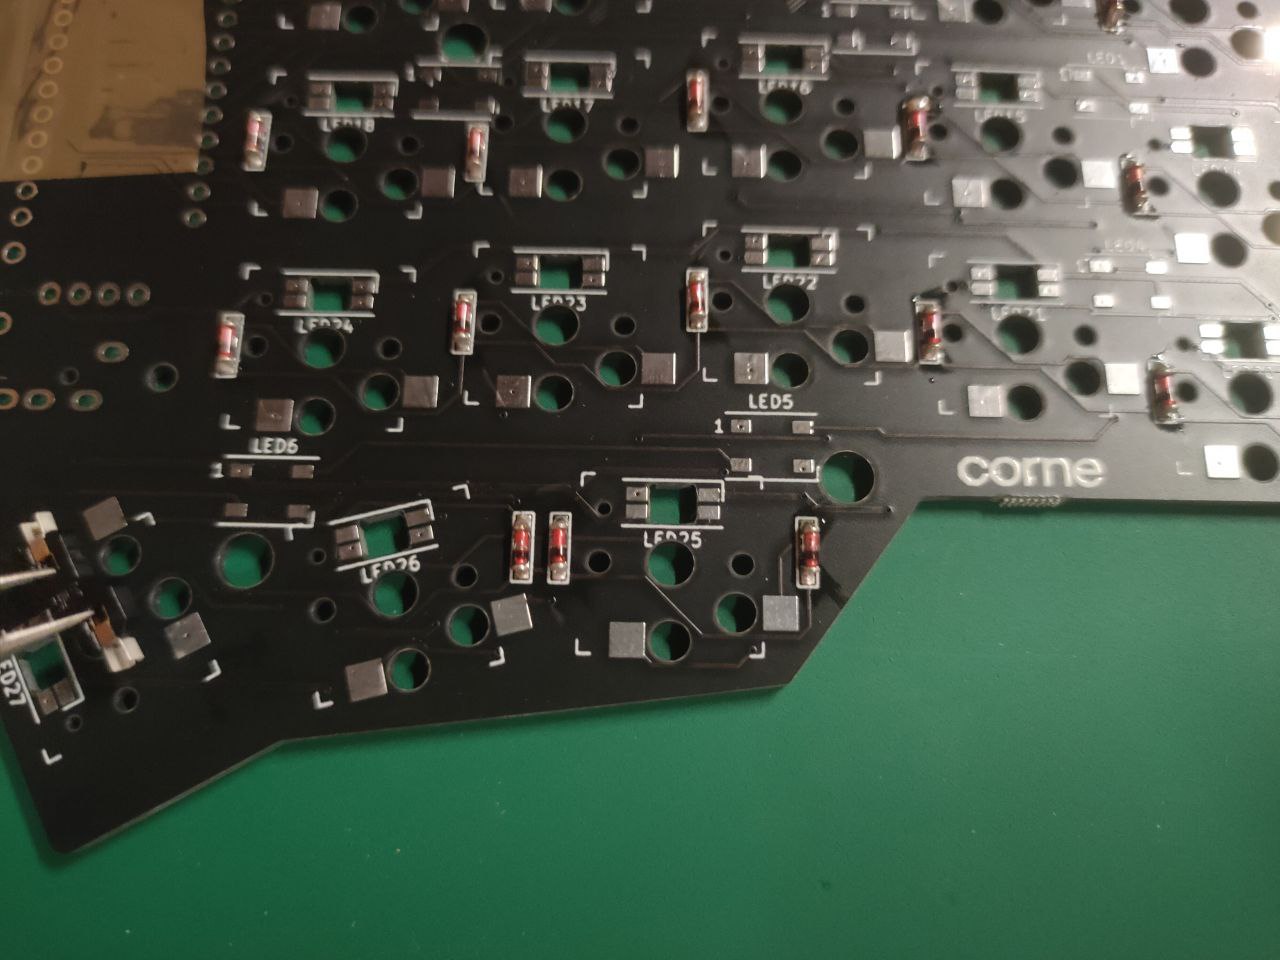
Following foostan build log I started with the SMD Diodes. The diodes are really tiny, and I double checked the polarity before soldering :
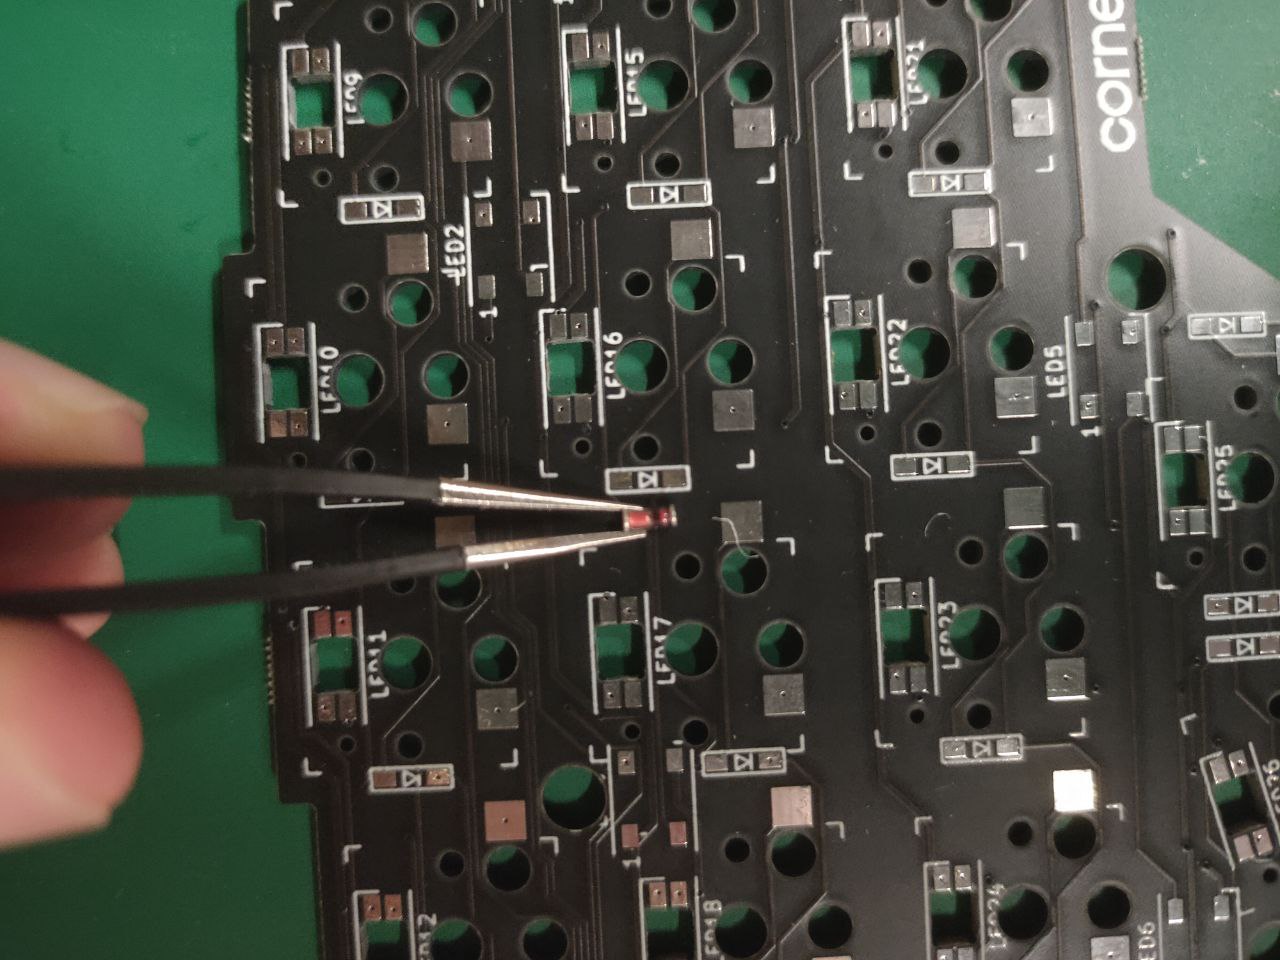
To solder these tiny tiny pieces, I put some solder on the first pad, then with a tweezer placed the diode and melt the previous solder to push it into place. Once it’s done for all the diodes, I soldered the other side of each ones.
 |
 |
|---|---|
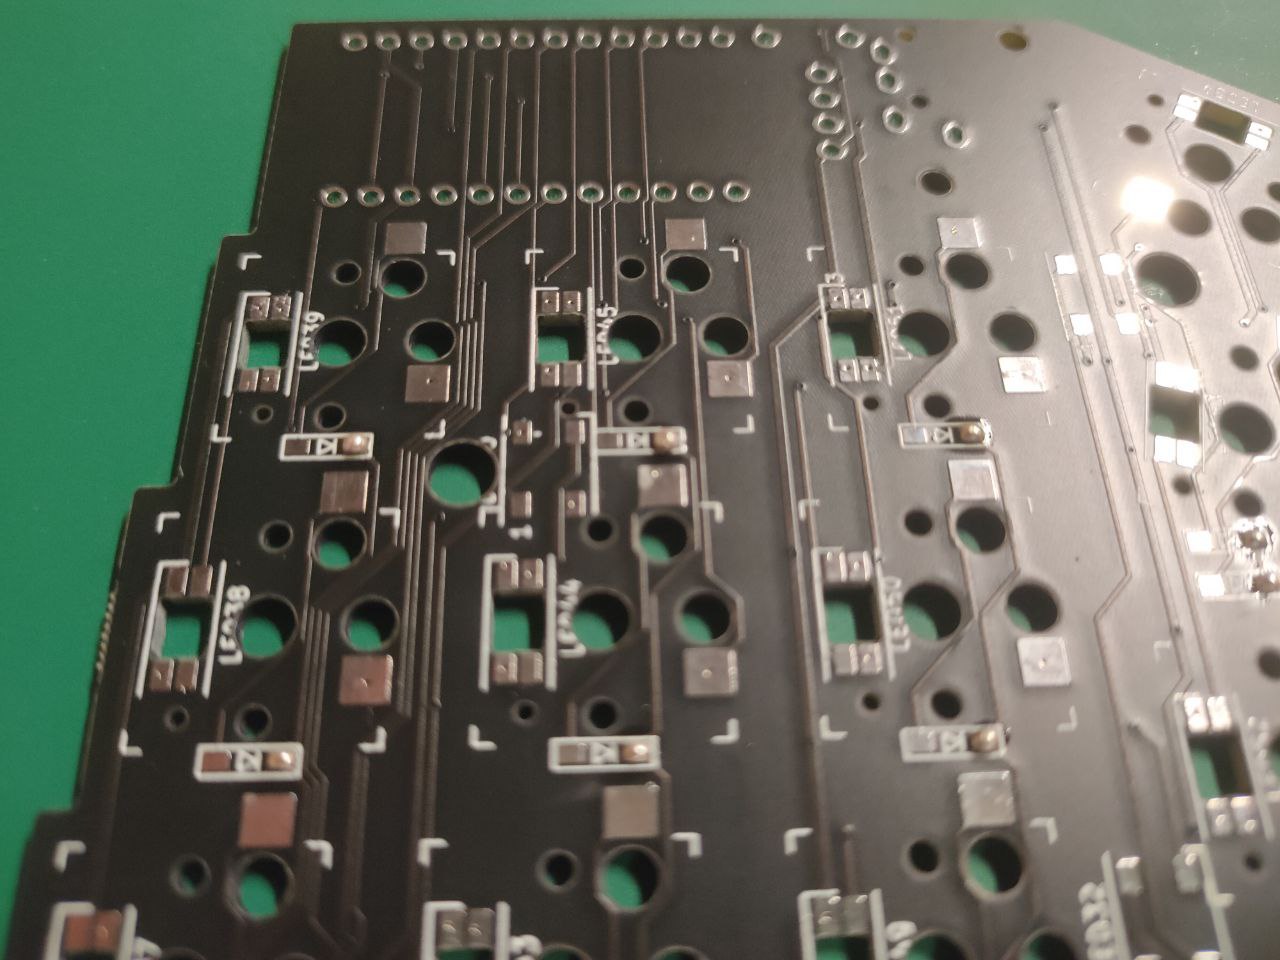
| The solder is on the right pad only | All the diodes are soldered |
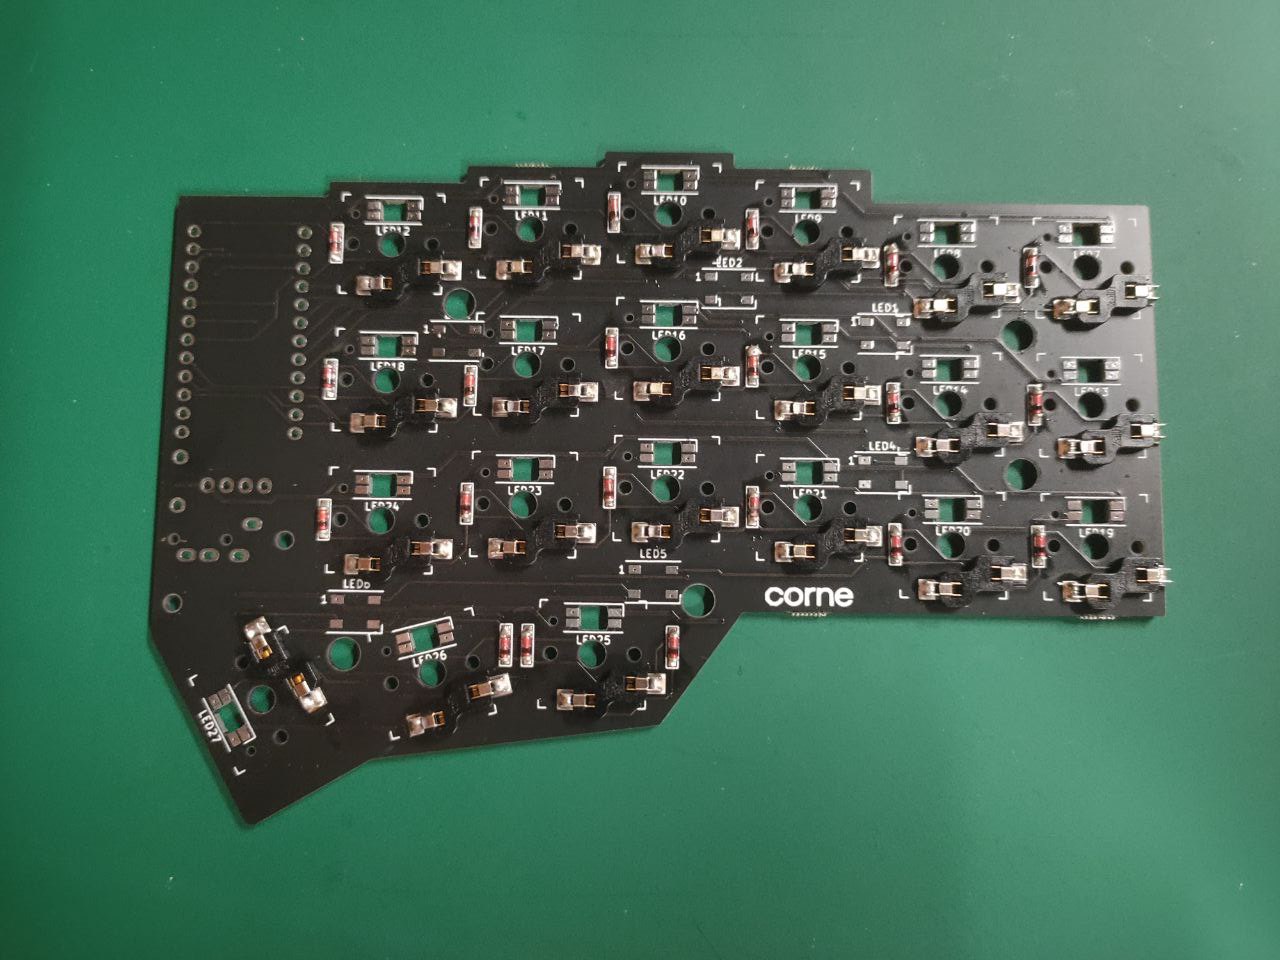
Next I soldered the hotswap sockets. Really straight forward, they are held in place thanks to the holes in the plates.
 |
 |
|---|---|
| The sockets sit nicely in the holes | On the other side, the hotswap aligned in the holes |
The PCB is now almost ready! I did not put any LED to preserve my battery life
🔩 Step 2: Soldering the micro controllers⌗
I decided for this build to socket my microcontrollers. Easier to deal with in case… you know… Something goes sideways. I used the MillMax Diode pins. Once everything was in place, I also added the reset button, and the sockets for the LCD.
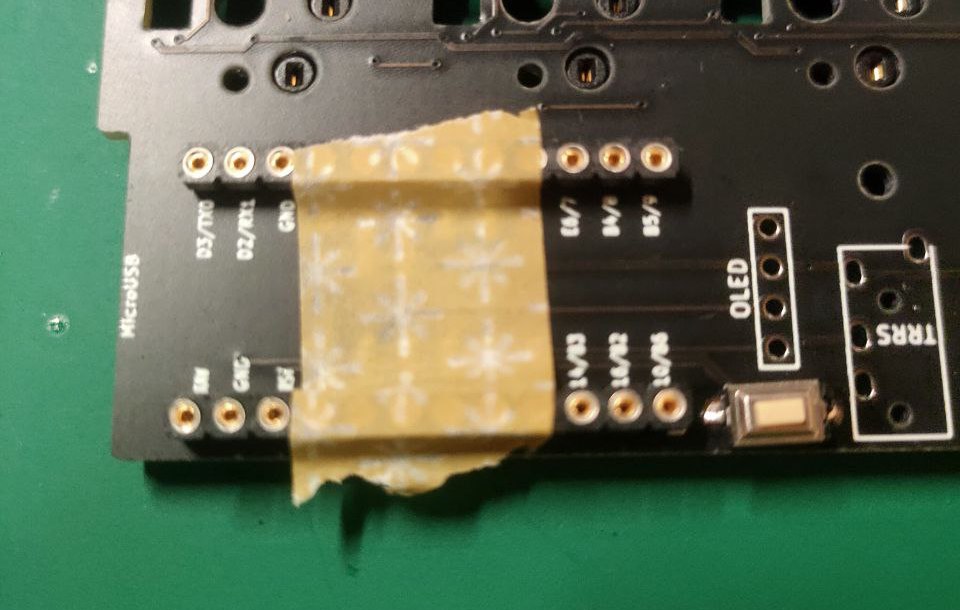
Nothing exciting here, but of course I didn’t pay attention to the polarity of the microcontroller, and had to desolder its 24 pins to flip it on the right side. I wanted to finish quicker and paid it it hours… Hopefully, being socketed I could do it without risking the whole PCB.
⚙️ Step 3: Install ZMK⌗
ZMK is pretty straight forward to use. They developed a build system relying on Github Actions, so I really just created the repository, launch the little CLI provided and I was good to go, following the docs here. Every action will output a firmware that I can flash into the keyboard in a breeze. Note that for keymap update, only the main (left) is required to be updated.
To load the firmware onto the nice!nano, it is as simple as it gets: double click on the reset button, and the controller should show as a USB storage on your computer.
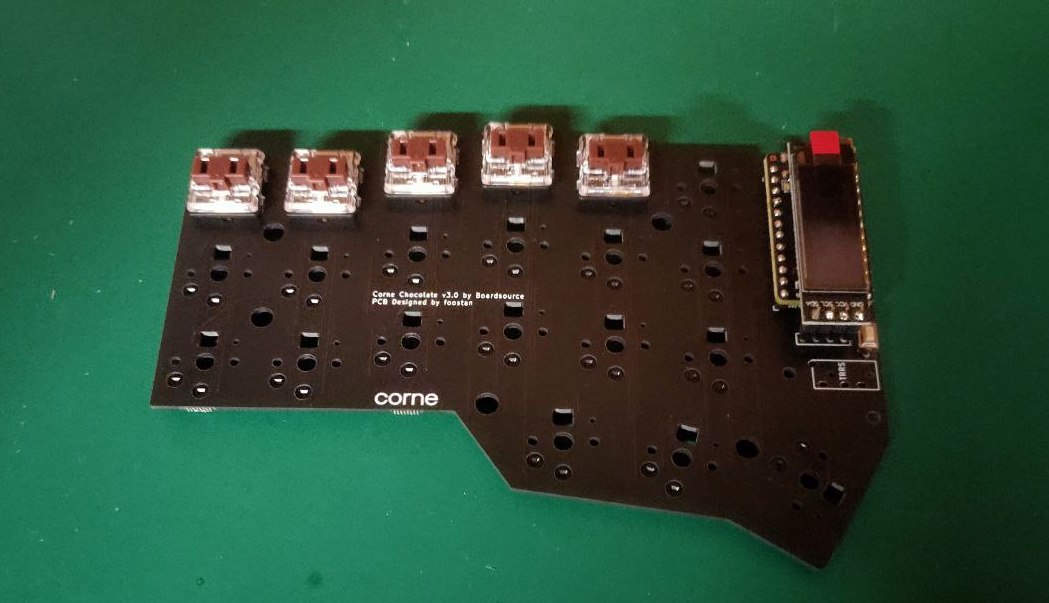
🧟 Step 4: Test, is it alive ??⌗
I mounted 3 or 4 switches to test that everything was good. Of course, at this step, I can only see if these keys works, but at least it allowed me to make sure that the nice!nano and the computer were able to discuss.
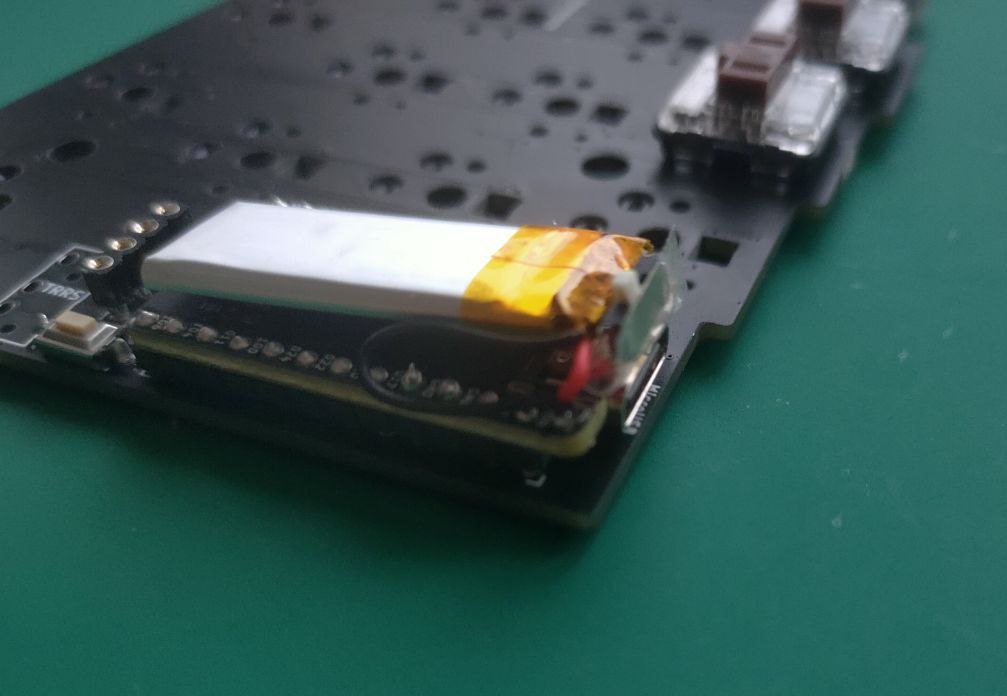
When convinced that everything was good, I went on and solder the last piece: the battery that I mounted directly on each nice!nano, with a kill-switch to preserve battery life when I’m not using it. There is no use for it to try to connect if it is to idle.
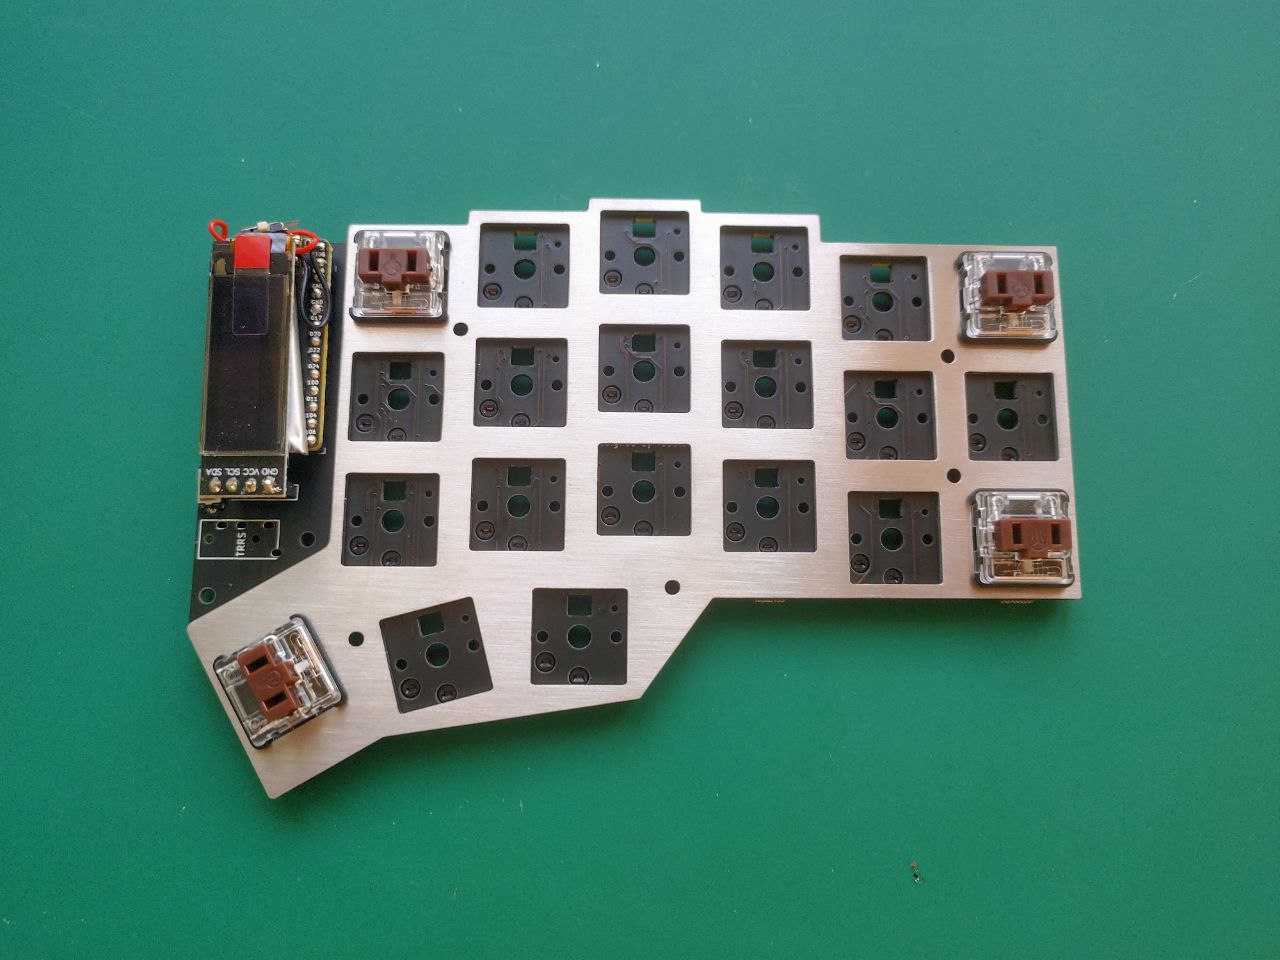
⌨️ Step 5: Mount the switch & keycaps⌗
Once I made sure that the nice!nano responded nicely, the last step was to mount the switches in the sockets, then mount the switch plates and screw all this together… But wait, that’s not the order 🤦♂️
Mount the switches into the plate, then clip the whole thing together within the sockets. Having hotswap sockets save me a huge amount of time since I was able to mount and unmount it quite easily
 |
 |
|---|---|
| What I did first | What should be done |
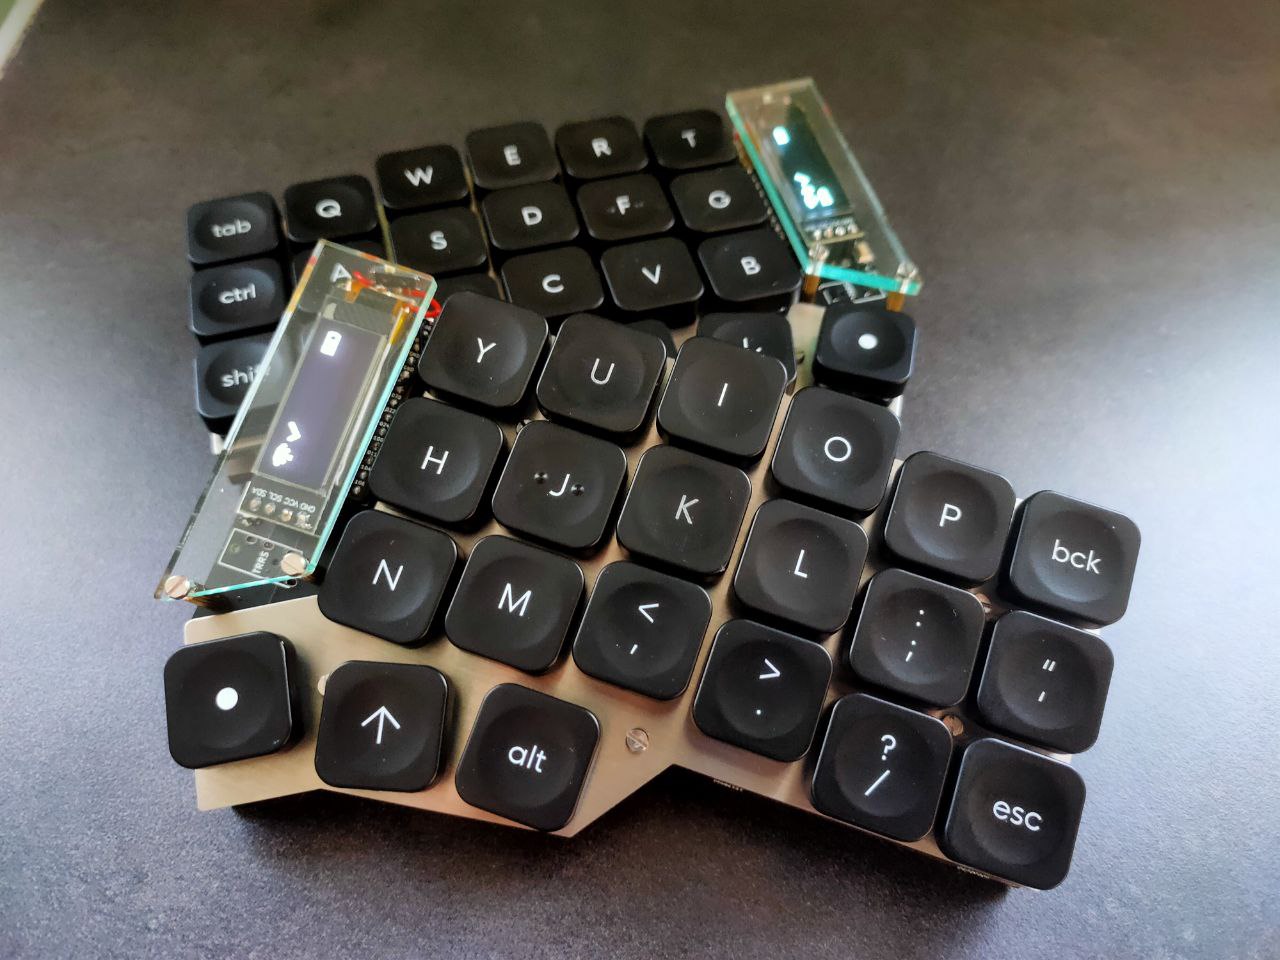
🎉 Step 6: Enjoy the Corne Keyboard⌗
After all this steps, everything worked… But the letter “F”. I thought I was doomed, but luckily it was just the solder of the switch’s socket that broke. A little more solder later, I was good to go. I tried the factory keymap for a while, but couldn’t wrap my fingers around it. You can see my current keymap on my github (alongside actions and their results). Et voilà !